Introduction
Connecting your laptop to a projector can dramatically enhance your professional presentations or transform your home into a mini-theater. Whether you’re in a professional space or at home, mastering the art of connecting your laptop to a projector guarantees an optimal experience. This comprehensive guide will walk you through various connection methods and offer solutions for a seamless setup.
Exploring Connection Options
Understanding your connection options is crucial for establishing a link between your laptop and a projector. Let’s delve into both wired and wireless strategies available to you, starting with the most traditional ones.
HDMI and VGA Connections
HDMI (High-Definition Multimedia Interface) is the newest standard, offering high-quality audio and video. It is supported by most modern laptops and projectors, making it a preferred choice. Alternatively, VGA (Video Graphics Array) provides an analog connection and is used on older devices when HDMI isn’t available. Remember, VGA supports only video, which means you may need a separate audio connection.
USB-C Port Compatibility
The increasing prevalence of USB-C ports highlights their adaptability. With the correct adapter, a USB-C port can connect your laptop to a projector via HDMI or VGA. Compatibility depends on the capabilities of both the adapter and the projector.

Wireless Solutions: Miracast and AirPlay
For a cable-free setup, explore wireless solutions like Miracast and AirPlay. Miracast allows wireless transmission of images and sound to a compatible device. AirPlay offers similar functions for Apple products, facilitating wireless streaming from a MacBook to an Apple TV-connected projector.
Step-by-Step Connection Guide
Having explored your options, here’s a detailed guide to connect your laptop to a projector smoothly.
Preparing Your Laptop and Projector
- Check Compatibility: Confirm the ports available on both the laptop and projector. Ensure you have all necessary cables or adapters.
- Power Up: Turn on both devices.
- Set Projector Input Source: Choose the correct input on the projector menu—be it HDMI, VGA, or a wireless option.
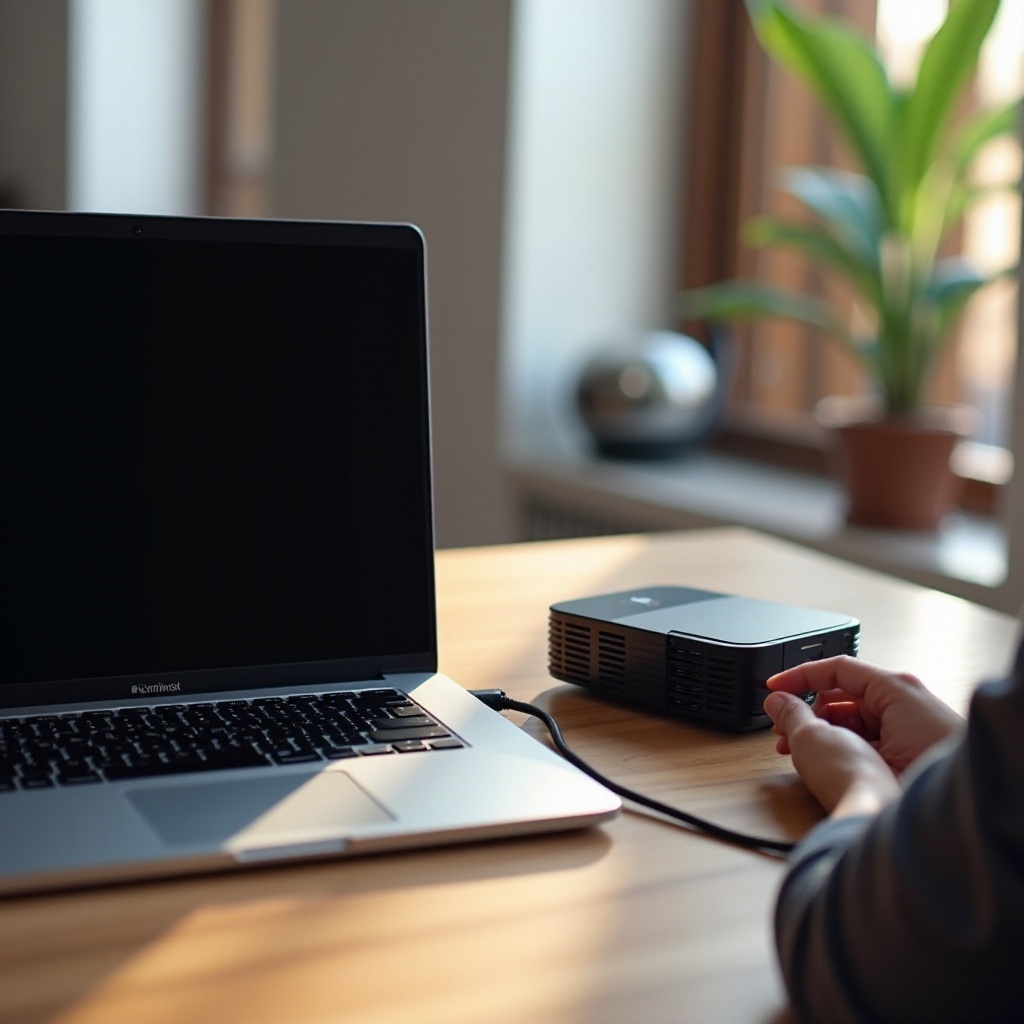
Establishing a Wired Connection
- Connect the Cable: Attach the HDMI, VGA, or USB-C cable from the projector to your laptop.
- Automatic Detection: Your laptop should detect the projector automatically. Otherwise, use the function key combination (typically
Fn + F4/F5/F8) for screen projection settings. - Choose Display Mode: Select ‘Duplicate,’ ‘Extend,’ or ‘Second Screen Only’ based on your requirements.
Setting Up Wireless Connections
- Enable Wireless Display: On Windows, access ‘Settings’ > ‘Devices’ > ‘Bluetooth & other devices,’ then ‘Add Bluetooth or other device.’
- Select Wireless Display: Choose ‘Wireless display or dock’ and pick your projector from the list.
- AirPlay on macOS: In ‘System Preferences,’ access ‘Displays’ and choose your AirPlay-compatible device.
Optimizing Display Settings for Best Quality
To achieve the highest quality projection, it’s imperative to adjust your display settings appropriately.
Adjusting Resolution and Aspect Ratio
Align the output resolution with your projector’s capabilities to avoid image distortion. Typical aspect ratios for projectors are 16:9 or 4:3.
Configuring Display Settings on Windows
- Access Settings: Go to ‘Settings’ > ‘System’ > ‘Display.’
- Select Multiple Displays: Click on your projector under ‘Multiple displays.’
- Modify Resolution & Orientation: Change settings as needed for your presentation.
Configuring Display Settings on macOS
- Open System Preferences: Navigate to ‘Displays.’
- Choose Optimize for Monitor: Select your projector to optimize display settings.
- Arrange Displays: Drag displays for accurate alignment.

Troubleshooting Common Issues
Even with a proper setup, issues may arise. Here’s how to address common connection problems.
Hardware Solutions
Ensure all cables and adapters are not damaged and function correctly. Replace damaged items and experiment with different HDMI or VGA ports.
Updating Software and Drivers
Outdated drivers can impede performance. Make sure your graphics drivers are updated by visiting your manufacturer’s website.
Troubleshooting Wireless Connections
Weak Wi-Fi might disrupt wireless displays. Consider a wired connection or minimize interference from other devices if needed.
Advanced Tips for an Improved Projection Experience
After your connection is established, use these advanced tips for an enhanced experience.
Utilizing Projector Apps and Features
Explore apps compatible with your projector to access features like keystone correction and zoom, which can improve your presentation.
Ensuring Presentation Smoothness
To maintain a smooth presentation, test your setup in advance, close non-essential programs to free up resources, and use a remote or wireless mouse for easy navigation.
Conclusion
Mastering the process of connecting a laptop to a projector involves understanding various connection types, setting displays correctly, and troubleshooting. Whether your goal is professional or for leisure, being knowledgeable about these connections will significantly enhance your projection experiences.
Frequently Asked Questions
Why won’t my laptop connect to the projector wirelessly?
This may be due to compatibility issues or weak wireless signals. Ensure both devices support the same wireless standard, such as Miracast or AirPlay, and improve your Wi-Fi environment.
How do I adjust the projector resolution from my laptop?
On Windows, go to ‘Settings’ > ‘System’ > ‘Display’ and choose the correct resolution under ‘Multiple displays.’ On macOS, use ‘System Preferences’ > ‘Displays’ for adjustments.
Can I connect multiple devices to a single projector?
Yes, some projectors have multiple input slots. However, only one device displays at a time. You can switch inputs on the projector to display different devices.