Introduction
For many computer users, especially gamers and graphic design professionals, maximizing the performance of their systems is of paramount importance. Intel integrated graphics, though sufficient for basic tasks, often present limitations when it comes to high-performance computing needs. By learning how to disable Intel integrated graphics, you can leverage the capabilities of a dedicated graphics card for enhanced performance and a better user experience. This guide will walk you through the steps necessary to make this transformation smoothly and effectively.
Understanding Graphics Cards: Integrated vs. Dedicated
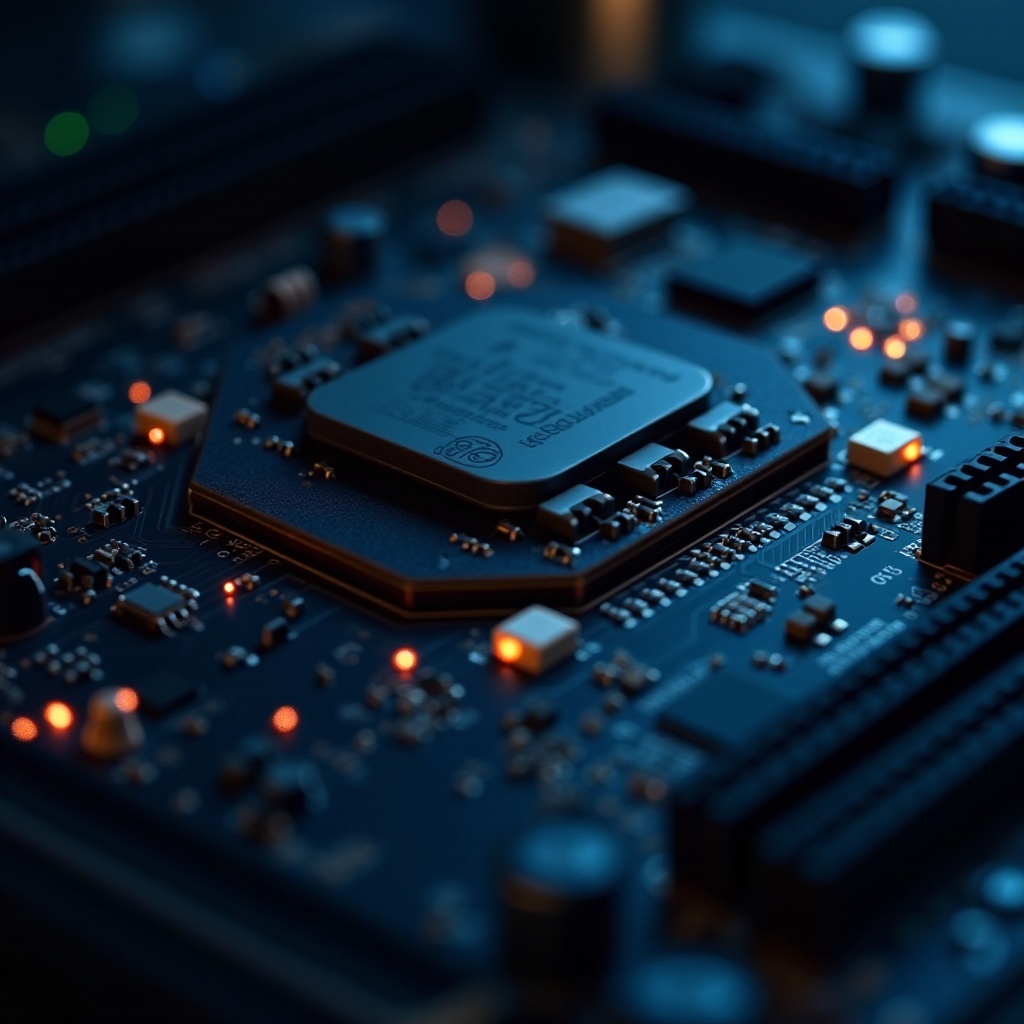
Before proceeding to disable Intel integrated graphics, it’s crucial to comprehend the distinctions between integrated and dedicated graphics solutions. Integrated graphics are built into the motherboard and share the CPU’s memory, making them a budget-friendly solution but often insufficient for resource-intensive tasks. On the other hand, dedicated graphics cards have their own processor and memory, providing superior performance necessary for gaming, video editing, and complex graphic design work.
This distinction is essential as it underscores why one might choose to disable the integrated option in favor of a dedicated card, leveraging the latter’s considerable performance benefits.
Why Disable Intel Integrated Graphics?
Disabling Intel integrated graphics is primarily about tapping into the full potential of a dedicated graphics card. By redirecting graphical processing tasks entirely to a dedicated GPU, you can alleviate potential bottlenecks and optimize resource allocation. This often results in better gaming frame rates, faster rendering times, and an overall smoother computing experience. The decision to disable integrated graphics is a commitment to enhanced system performance.
Prerequisites and Preparation
Before starting the disabling process, certain preparations are crucial:
- Create a Backup: Ensure that you back up important data to safeguard against unforeseen errors.
- Updated Drivers: Confirm that the dedicated graphics card drivers are current to prevent conflicts.
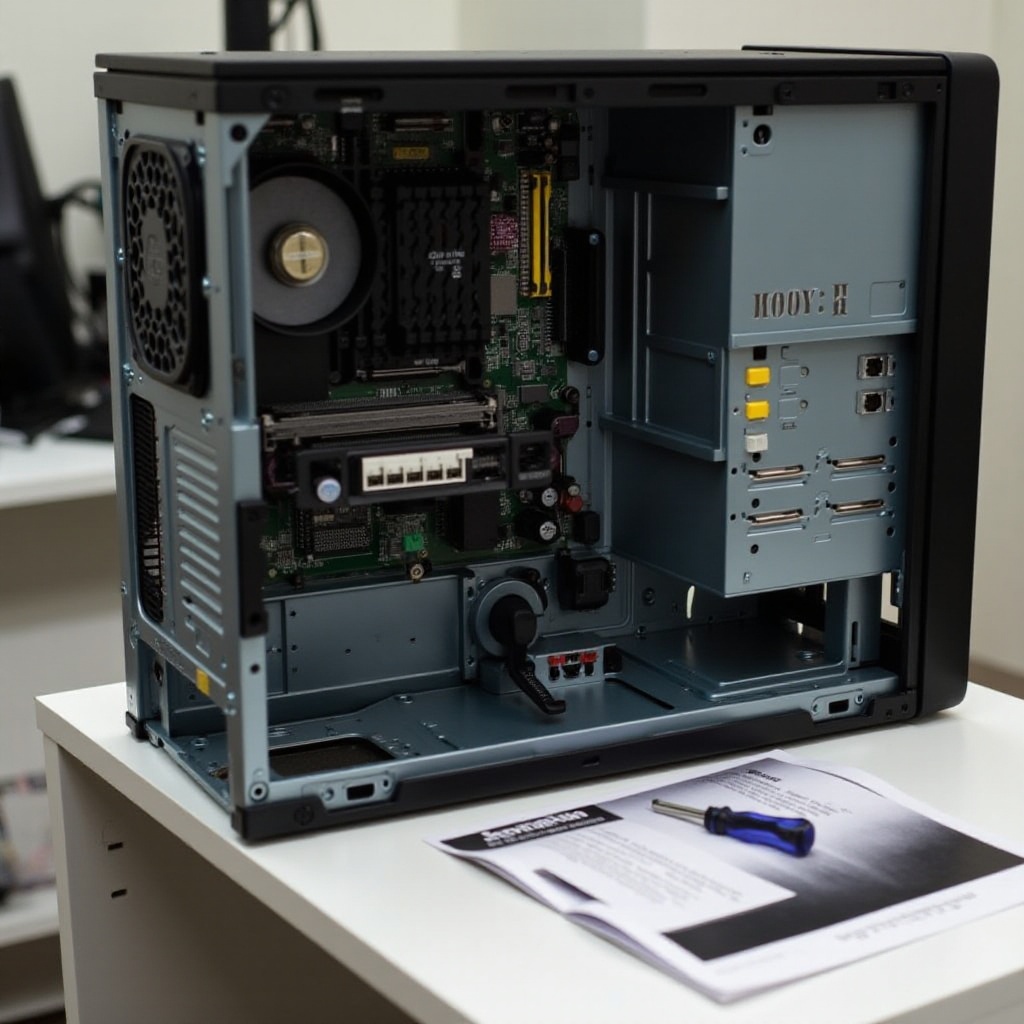
- Access BIOS/UEFI Settings: Familiarize yourself with your system’s BIOS/UEFI access method, typically described in your motherboard’s manual.
- Monitor Setup: Shift your monitor connection to the dedicated graphics card to ensure visual output post-change.
With these steps, you’ll be ready to disable Intel integrated graphics with minimal risk.
How to Disable Intel Integrated Graphics via BIOS/UEFI
Interacting with the BIOS/UEFI is a more permanent approach to disabling Intel integrated graphics. Follow these instructions:
- Restart and Enter BIOS/UEFI: This step involves pressing a key like F2, F10, or Delete as your computer restarts.
- Locate Advanced Settings: Navigate to the ‘Advanced’ or ‘Configuration’ section where hardware settings reside.
- Find Integrated Graphics: This option often appears under ‘Video’ or ‘Display’ settings.
- Disable Integrated Graphics: Select ‘Disabled’ or adjust the ‘Primary Display Adapter’ setting, as appropriate for your BIOS.
- Save and Reboot: Save your changes and exit BIOS. Make sure your monitor outputs via the dedicated graphics card upon restart.
Disabling Intel Integrated Graphics Using Device Manager
When BIOS access is challenging, disabling through Windows Device Manager is a viable option:
- Access Device Manager: Right-click the Start menu and select ‘Device Manager’.
- Expand Display Adapters: In the list, locate and expand the ‘Display adapters’.
- Disable Intel Graphics: Right-click on the Intel Integrated Graphics listing and select ‘Disable device’.
- Confirm Your Choice: Follow through with any confirmation prompts.
This method is less comprehensive but effectively stops the integrated graphics from running, favoring a dedicated GPU use.
Verifying and Monitoring System Performance Post-Disabling
After the disabling process, confirming that your systems functions as anticipated is vital. Consider:
- Checking Device Manager: Ensure the dedicated GPU is active and functional.
- Monitor Performance: Use Task Manager to observe GPU usage ensuring the dedicated card handles tasks.
- Test with Applications: Run high-use software or games to see performance changes.
Regular monitoring will validate your setup and address any arising issues promptly.
Avoiding Common Mistakes
Here are pitfalls to avoid during the process:
- Preparation Gaps: Always back up system and keep drivers updated.
- Incorrect Monitor Connections: Ensure visual output via the dedicated GPU port.
- Improper Reboot: Save all BIOS changes properly before rebooting.
These precautions help smooth the transition and optimize performance benefits.
Conclusion
Opting to disable Intel integrated graphics can significantly elevate your computer’s capabilities when paired with a dedicated GPU. Though the steps might seem technical, they are manageable and often rewarded with notable performance improvements, paving the way for advanced applications and gaming scenarios.
Frequently Asked Questions
Can disabling Intel integrated graphics improve gaming performance?
Yes, when using a dedicated GPU, disabling integrated graphics optimizes performance by utilizing the dedicated card’s superior capabilities.
What should I do if my system won’t boot after disabling integrated graphics?
Reconnect your monitor to the Intel integrated graphics port, access BIOS/UEFI to re-enable the settings, and troubleshoot the configuration.
Is it safe to disable Intel integrated graphics on a laptop?
Use caution with laptops, which often rely on integrated graphics for efficiency. Ensure you have a dedicated GPU and assess energy impacts before disabling.