Introduction
Troubleshooting a motherboard can seem daunting, especially with the myriad of integrated components it houses. Pinpointing the exact issue may be tricky, but understanding the process is invaluable, saving both time and money. This comprehensive guide offers insights into identifying symptoms, using diagnostic tools, and performing corrective measures. Whether you’re facing random shutdowns or system failures, a structured troubleshooting approach empowers you to tackle these issues with confidence.
Signs of Motherboard Issues
Identifying signs of motherboard trouble early can avert bigger headaches down the line. Common symptoms include:
- No Power: Your system isn’t turning on, even though the power supply is connected.
- Frequent Freezing: Your computer hangs during boot or when executing simple tasks.
- Unexpected Sounds: Clicking or beeping noises during start-up could signify hardware conflicts.
- Error Messages: Blue screens or error codes during boot are red flags.
Spotting these warning signs swiftly is vital to maintaining a healthy system and minimizing downtime.
Preparing for Troubleshooting
Before diving into repair and diagnosis, equipped preparation is pivotal.
Essential Tools for Diagnosis
- Screwdriver set
- Anti-static wristband
- Multimeter
Safety Precautions
- Disconnect power and remove the battery (if applicable) before handling internal components.
- Use an anti-static wristband to prevent Electrostatic Discharge (ESD) damage.
- Work within a clean, dry environment.
Preparation is paramount, ensuring a systematic approach and equipping you with the crucial tools and knowledge for the task.
Basic Troubleshooting Steps
Fundamental steps lay the groundwork for addressing motherboard issues. Start with basic checks to identify obvious problems.
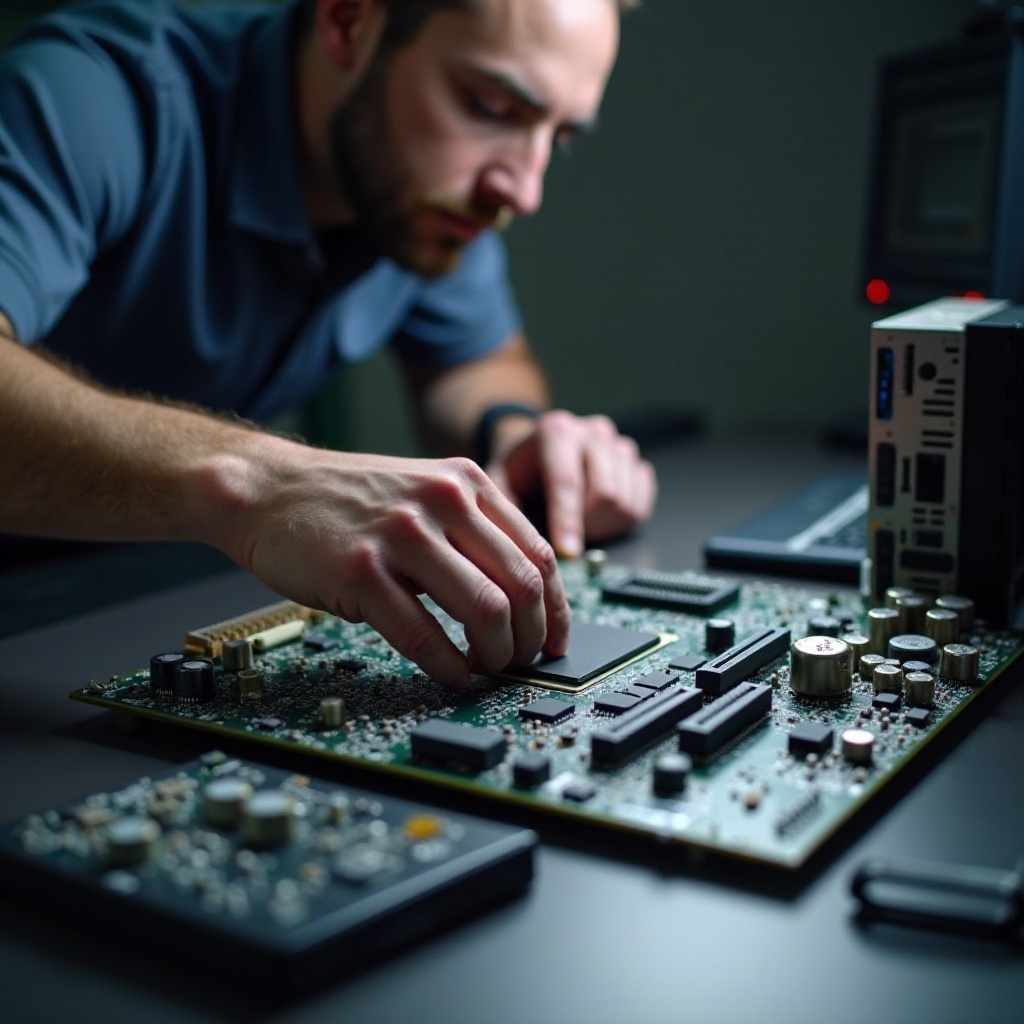
Visual Inspection
- Inspect the motherboard for physical damage.
- Look for burnt components or swollen capacitors.
Checking Power Connections
- Ensure all connectors are firmly plugged into the motherboard.
- Double-check the PSU (Power Supply Unit) connections.
Inspecting RAM and CPU Seating
- Remove and reseat the RAM sticks.
- Check the CPU for proper alignment and secure locking.
By completing these basic steps, you can eliminate simple errors and prepare for more complex solutions.
Intermediate Diagnosing Techniques
If basic troubleshooting doesn’t resolve the issue, delve deeper with intermediate techniques to uncover more elusive problems.
POST Error Codes and Beep Sounds
- Listen to beeps during boot.
- Use the motherboard manual to interpret these beep codes.
Testing with Minimum Configuration
- Disconnect all peripherals except essential components.
- Boot the system with minimal hardware to isolate issues.
Inspecting Physical Components for Damage
- Check for broken pins in CPU and RAM slots.
- Ensure the heat sink/fan assembly is correctly installed and functional.
These intermediate steps help narrow down potential issues, eliminating possibilities systematically.
Advanced Troubleshooting Methods
Persistence of problems may necessitate advanced methods for a detailed analysis.
BIOS and Firmware Updates
- Access BIOS settings to confirm they are up-to-date.
- Follow manufacturer’s instructions carefully for updating BIOS.
Using Diagnostic Software
- Utilize tools like MemTest86 for memory diagnostics.
- Use hard drive testing tools to check for errors.
Testing with a Multimeter
- Analyze the motherboard’s voltage regulators.
- Confirm PSU’s power output accuracy.
Advanced troubleshooting demands technical skill, approaching professional expertise, yet can bring about precise repairs.
When to Seek Professional Assistance
Recognizing when a problem is beyond DIY solutions is crucial.
Indications for Professional Help
- Persistent issues after exhaustive attempts.
- Lack of necessary tools or technical understanding.
- Severe physical damage to the motherboard.
At this juncture, consulting a professional ensures optimal handling, minimizing further complications for the motherboard.
Preventive Maintenance Tips
Avoid future troubles by embracing routine maintenance practices.
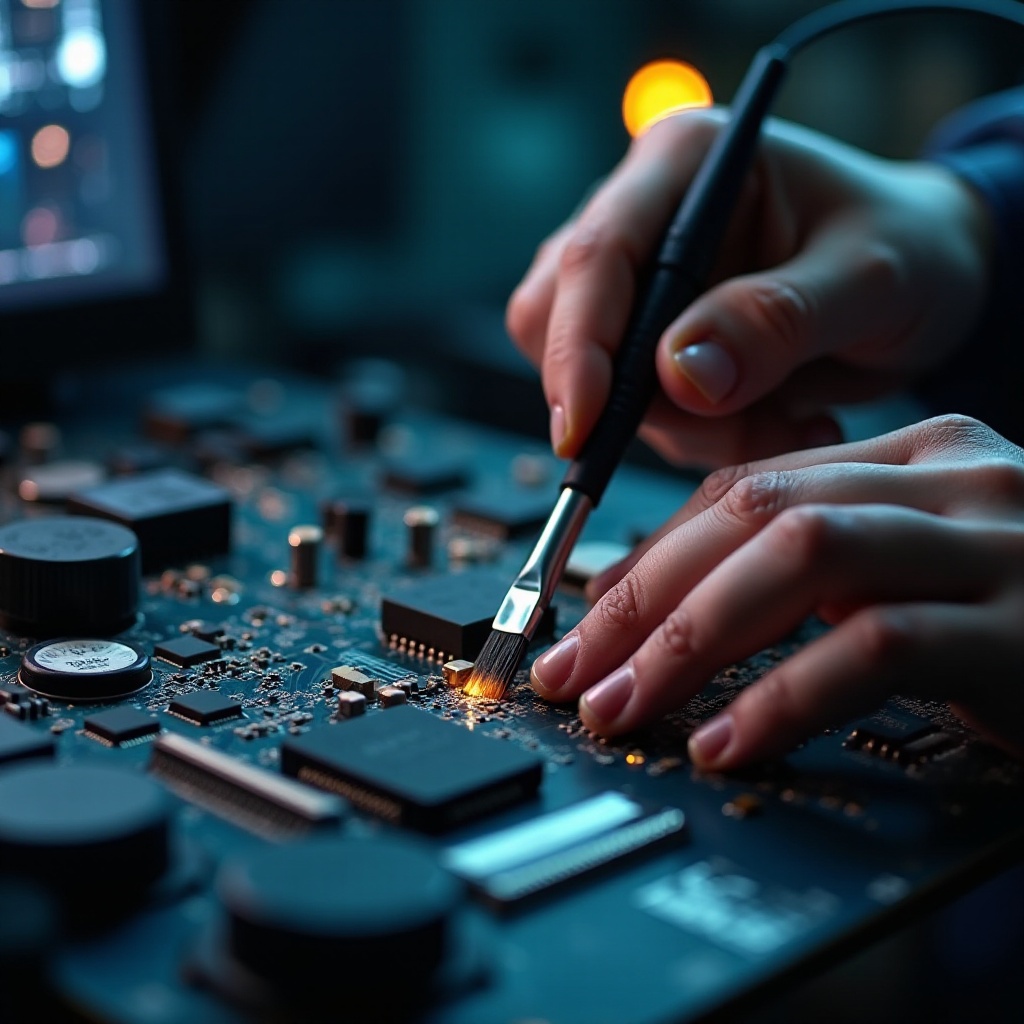
Regular Cleaning
- Routinely clean internal components to prevent overheating.
Appropriate Ventilation and Environment
- Ensure adequate system airflow.
- Avoid exposing the computer to extreme temperatures and humidity.
Proactive upkeep extends your motherboard’s lifespan and mitigates the risk of system failures over time.
Conclusion
Motherboard troubles don’t have to be alarming. With methodical troubleshooting and regular maintenance, many issues can be resolved efficiently. Invest time in understanding underlying causes and apply these strategies for smooth computer performance.
Frequently Asked Questions
What are the warning signs of a faulty motherboard?
Frequent crashes, no power, and strange noises can indicate motherboard issues.
Can a motherboard be repaired, or should it be replaced?
Some faults can be fixed, but severe damage often necessitates replacement.
Is it safe to update the BIOS myself?
Yes, if you follow the manufacturer’s instructions carefully during the update.